DXF-importer/exporter PE for Blender 2.6+
Screenshots
2021.08.05
-> homepage
1. Getting Started:
Importer and exporter scripts go the same way:
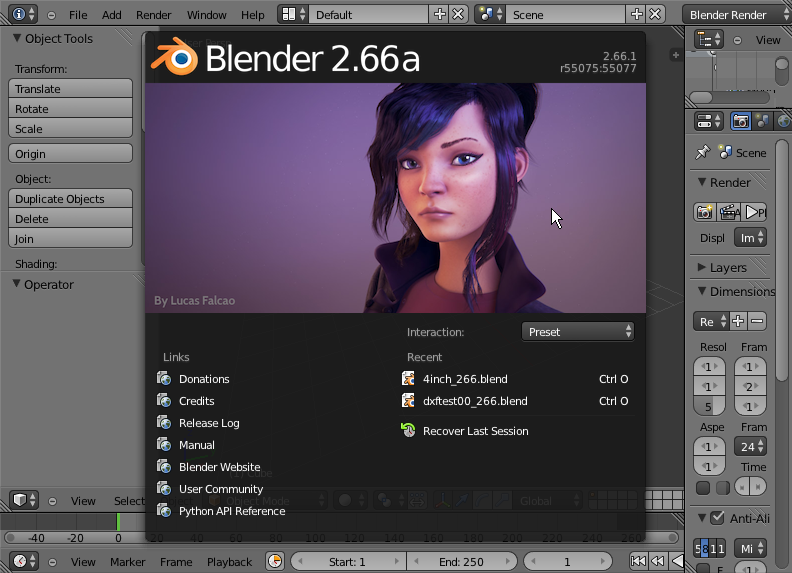
001. Start Blender
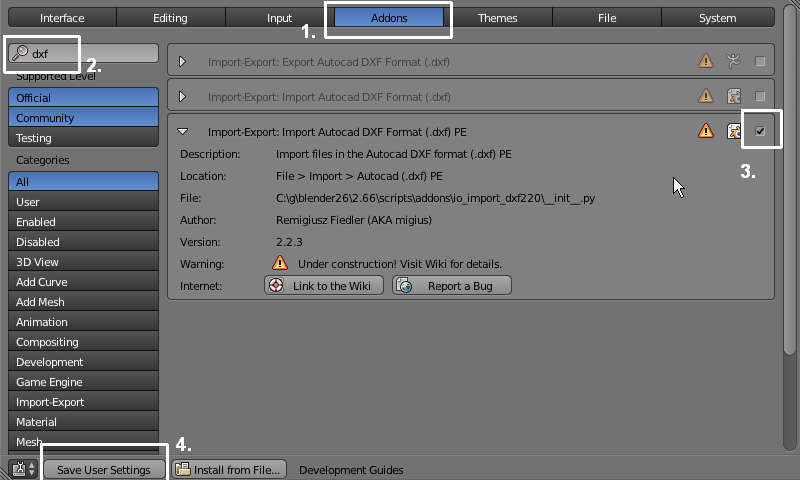
002. go to User Preferences
003. activate the importer
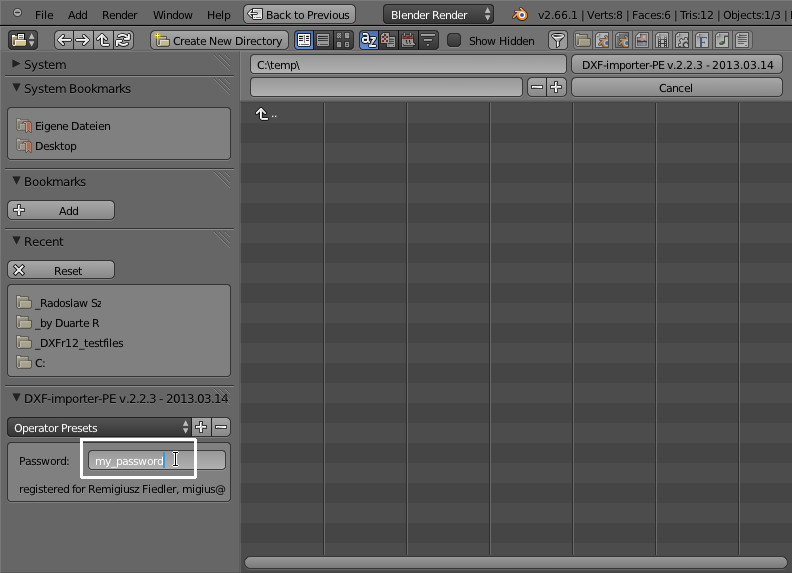
004. start importer
005. enter password
006. set up import parameters
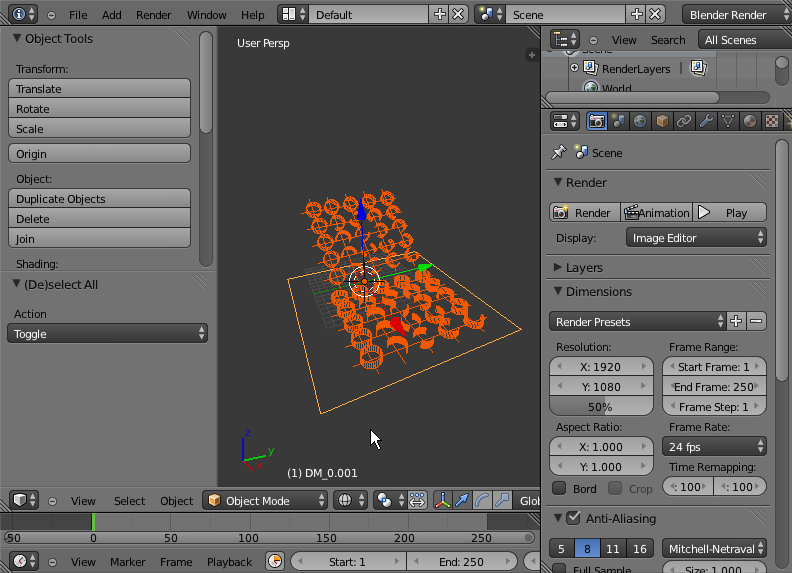
007. done!
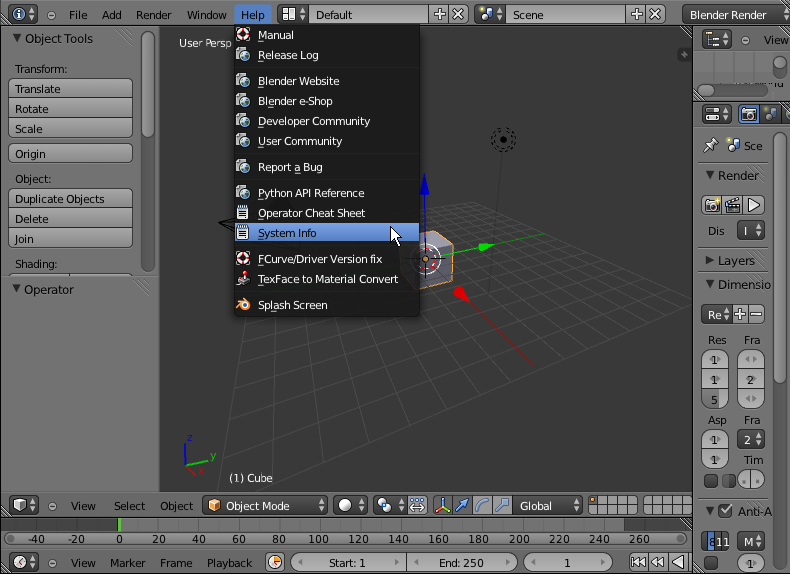
2. System Diagnostics:
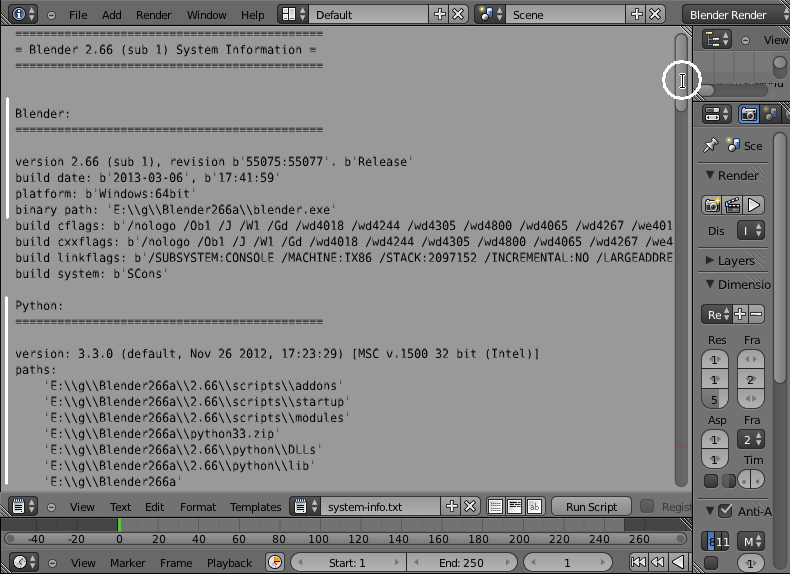
008. "System Info..."-script provides information, we may need for troubleshooting. It creates "system-info.txt" text in current blend file.
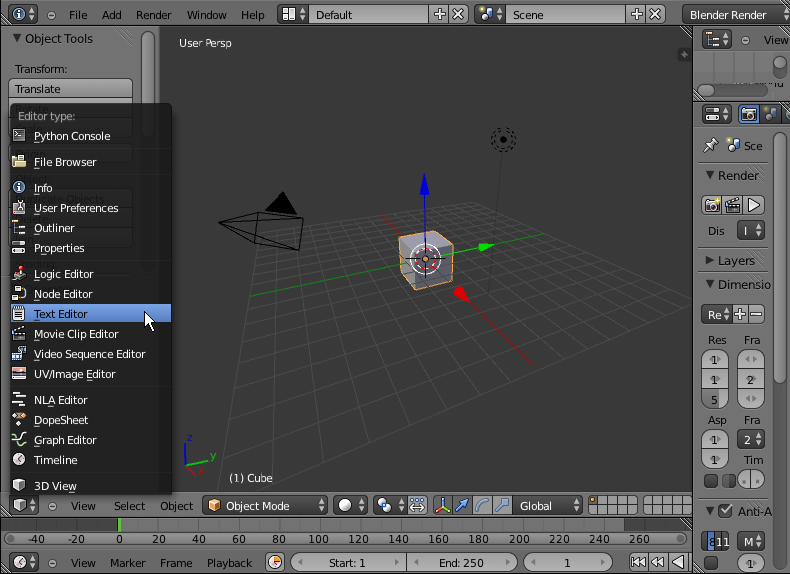
009. To read it switch to Text Editor
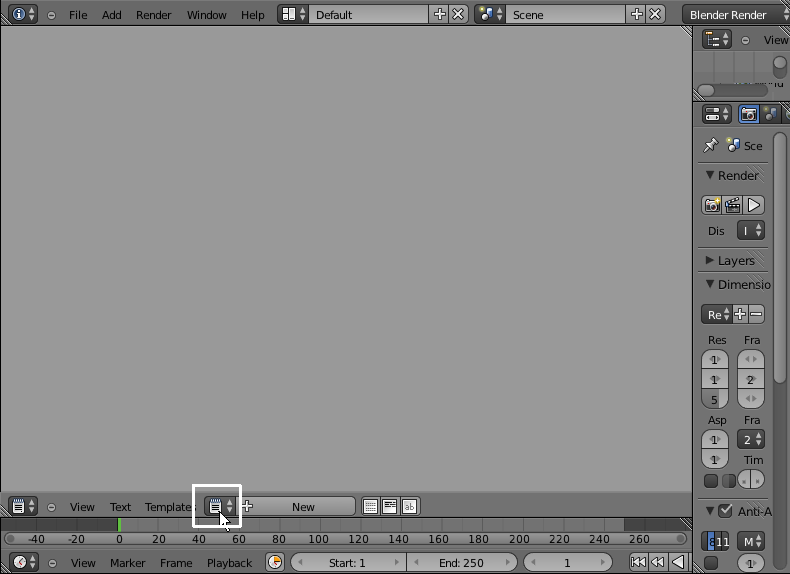
010. and call text ...
011. ... "system-info.txt".
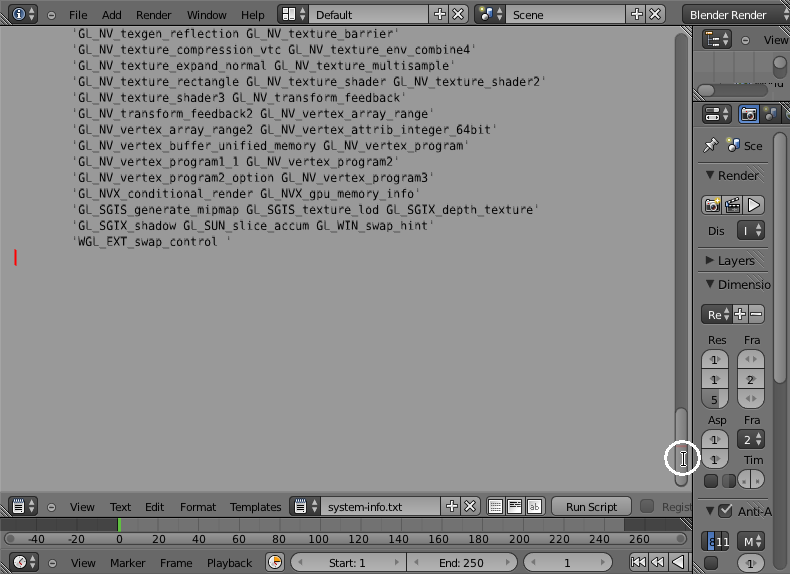
012. Scroll up (with MMB-drag over text area or with LMB-drag over scrollbar)
013. There are all about Blender and Python versions and library paths.
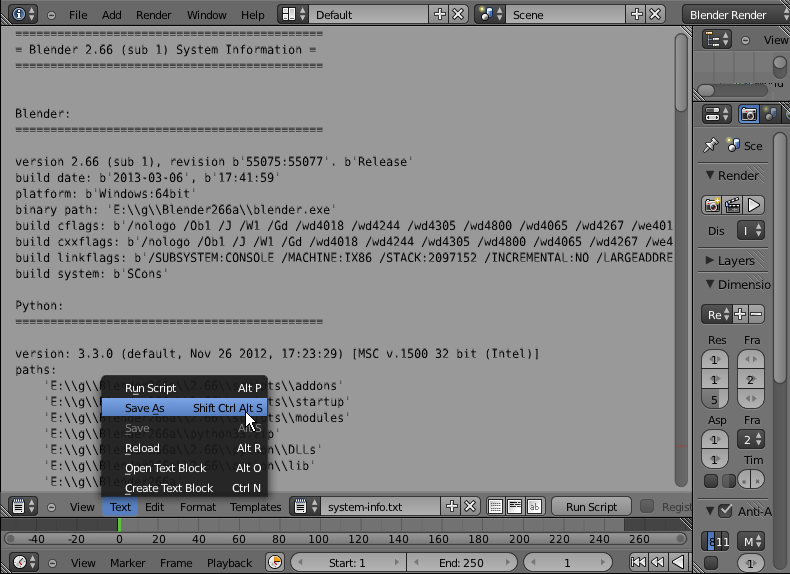
014. You can save it as text file for further diagnostics.
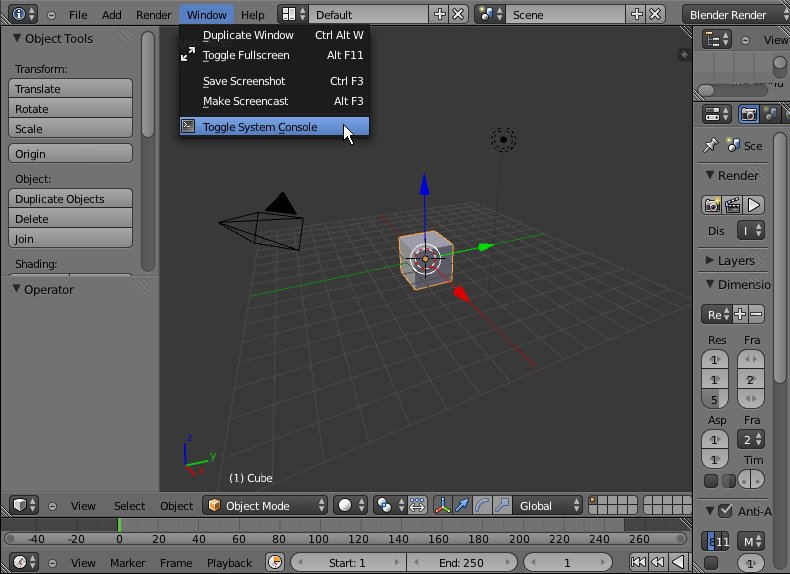
016. Make sure the system console (terminal window) is visible.
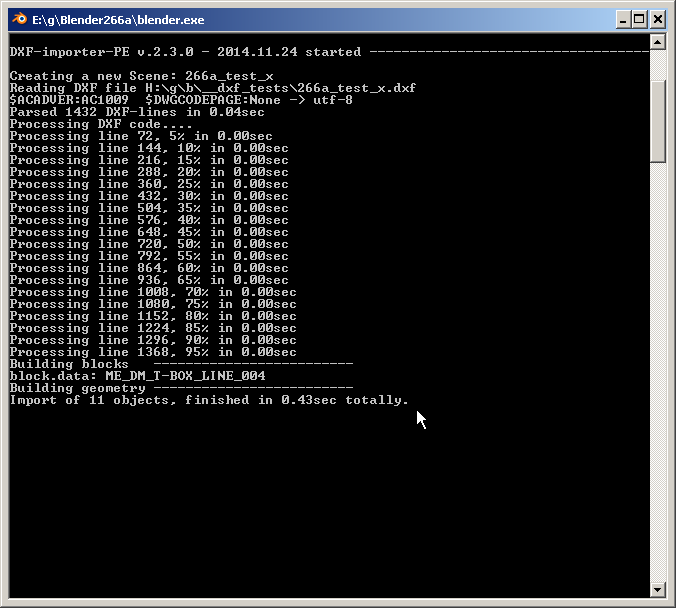
017. This console is the standard output for Blender's state and error messages.
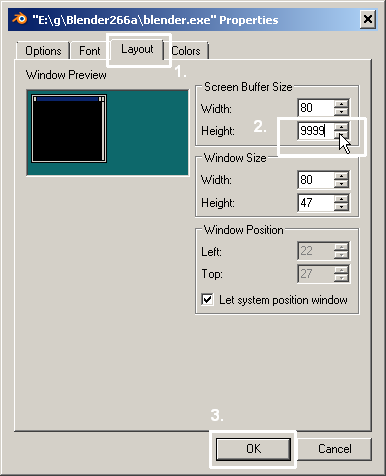
018. (on Windows) to increase terminal buffer size: go to header-RMB-menu
019. and set Properties:Layout:Screen Buffer Size:Height to 9000 or more.
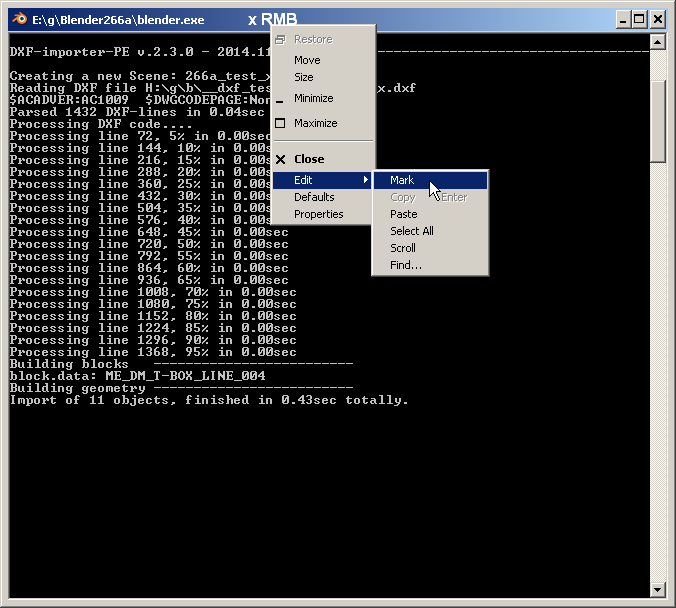
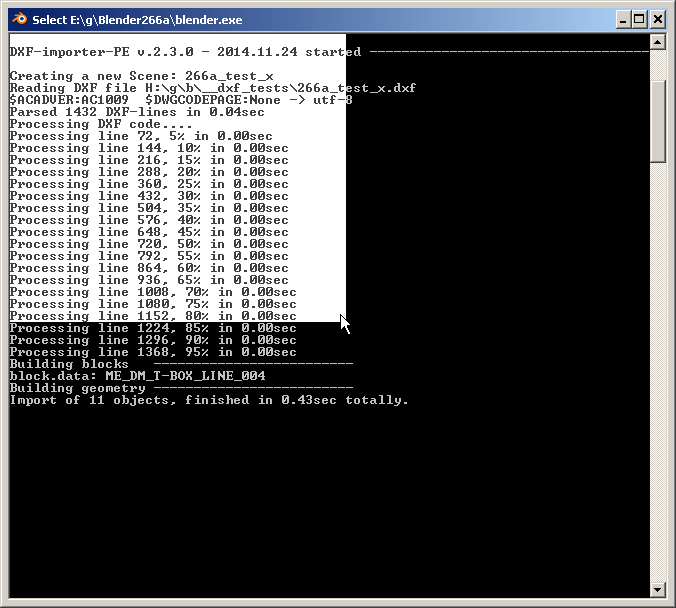
020. You can select text blocks in terminal with RMB-menu:Edit:Mark ...
021. ... with mouse cursor,
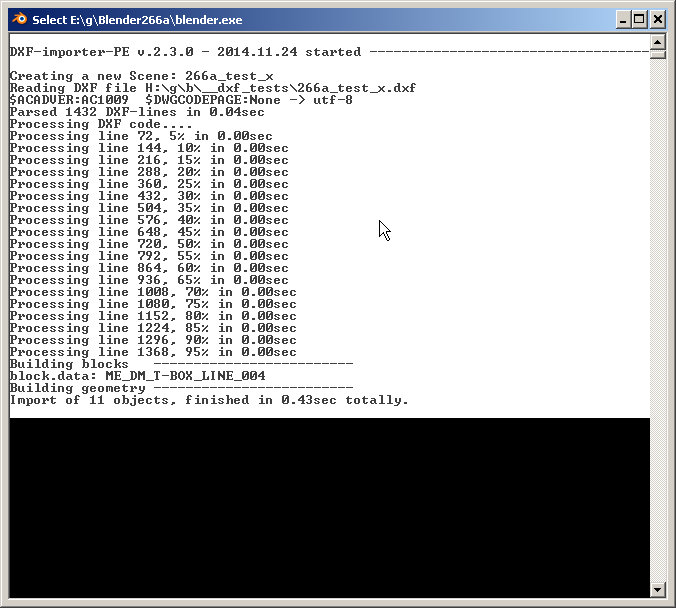
022. or with RMB-menu:Edit:Select_All ...
023. ... select entire text at once.
023. Hit [Enter] to copy selected parts into system-clipboard. With [Ctrl]+[v] you can paste it into e-mail or text document.
3. Import from BIM (Revit, ArchiCAD, Allplan):
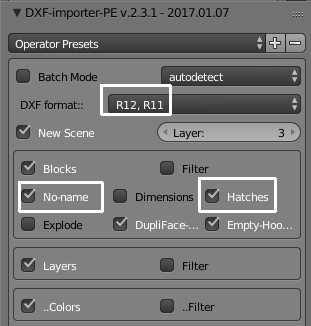
030. Models form BIM systems can be imported via DXF format.
To get complete data imported (inclusive ACIS objects)
you have to install external DXF converter (teigha) and use this setup:
- DXF format: R12
- Blocks->Noname: on
- Blocks->Hatches: on
4. Import from SketchUp(3D):
(text in preparation)
5. Export Sections:
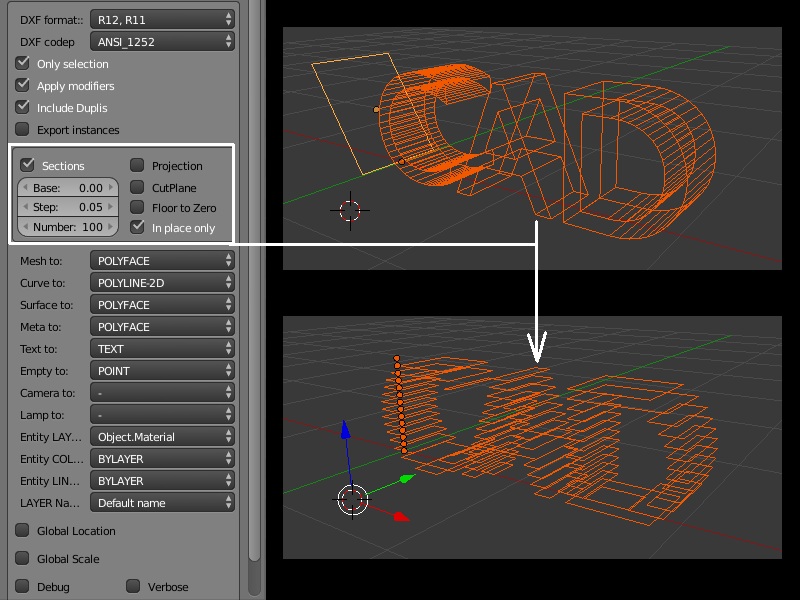
040. Start Exporter and activate "Sections"-option.
Set "Base" to define desired Z-coordinate of sectioning plane.
Set "Number" and "Step" to generate multiple sections in Z-direction. They will be written on separate layers.
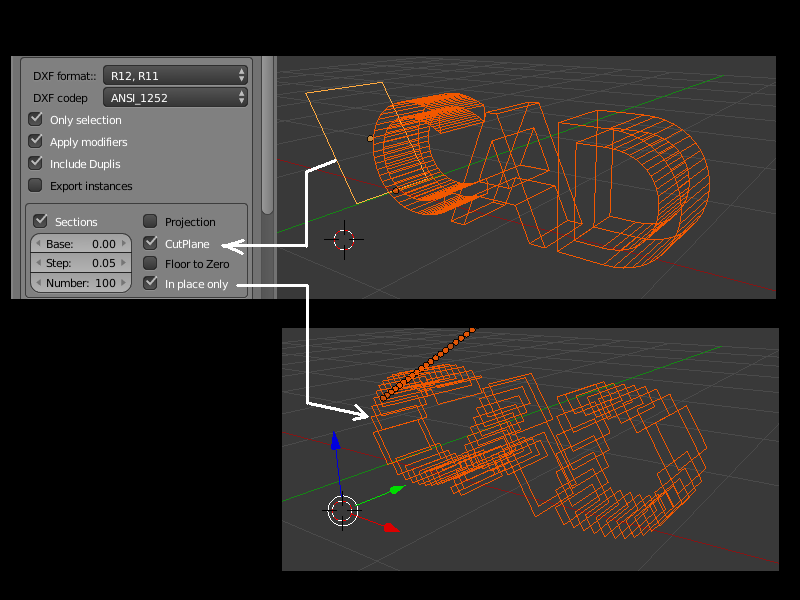
041. To generate arbitrary oriented sections use "CutPlane"-option in combination with helper object placed in the scene, with name prefix "CutPlane" (it can be a mesh, empty, curve or 3dtext).
Use "In place only"-option to draw output back to the scene instead of writing to dxf file.
Use "Floor to Zero"-option to export all sections 2d-flat lying on Z=0.0.
|